
Issue 2 of the Disney Cakes and Sweets magazine brought with it some childhood memories for me. I remember making coconut ice as a child. I remember it including boiled sugar, however, which this recipe doesn’t, but maybe I’m confusing it with fudge?
 If you take away the serious sugar overdose in this recipe, coconut ice is a brilliant treat to get kids involved in. I haven’t made it in years – not since I joined the Nestle Boycot – but my husband found some Farmlea condensed milk recently and it’s reopened a world of sweet pleasures that were off limits unless I wanted to make my own condensed milk!
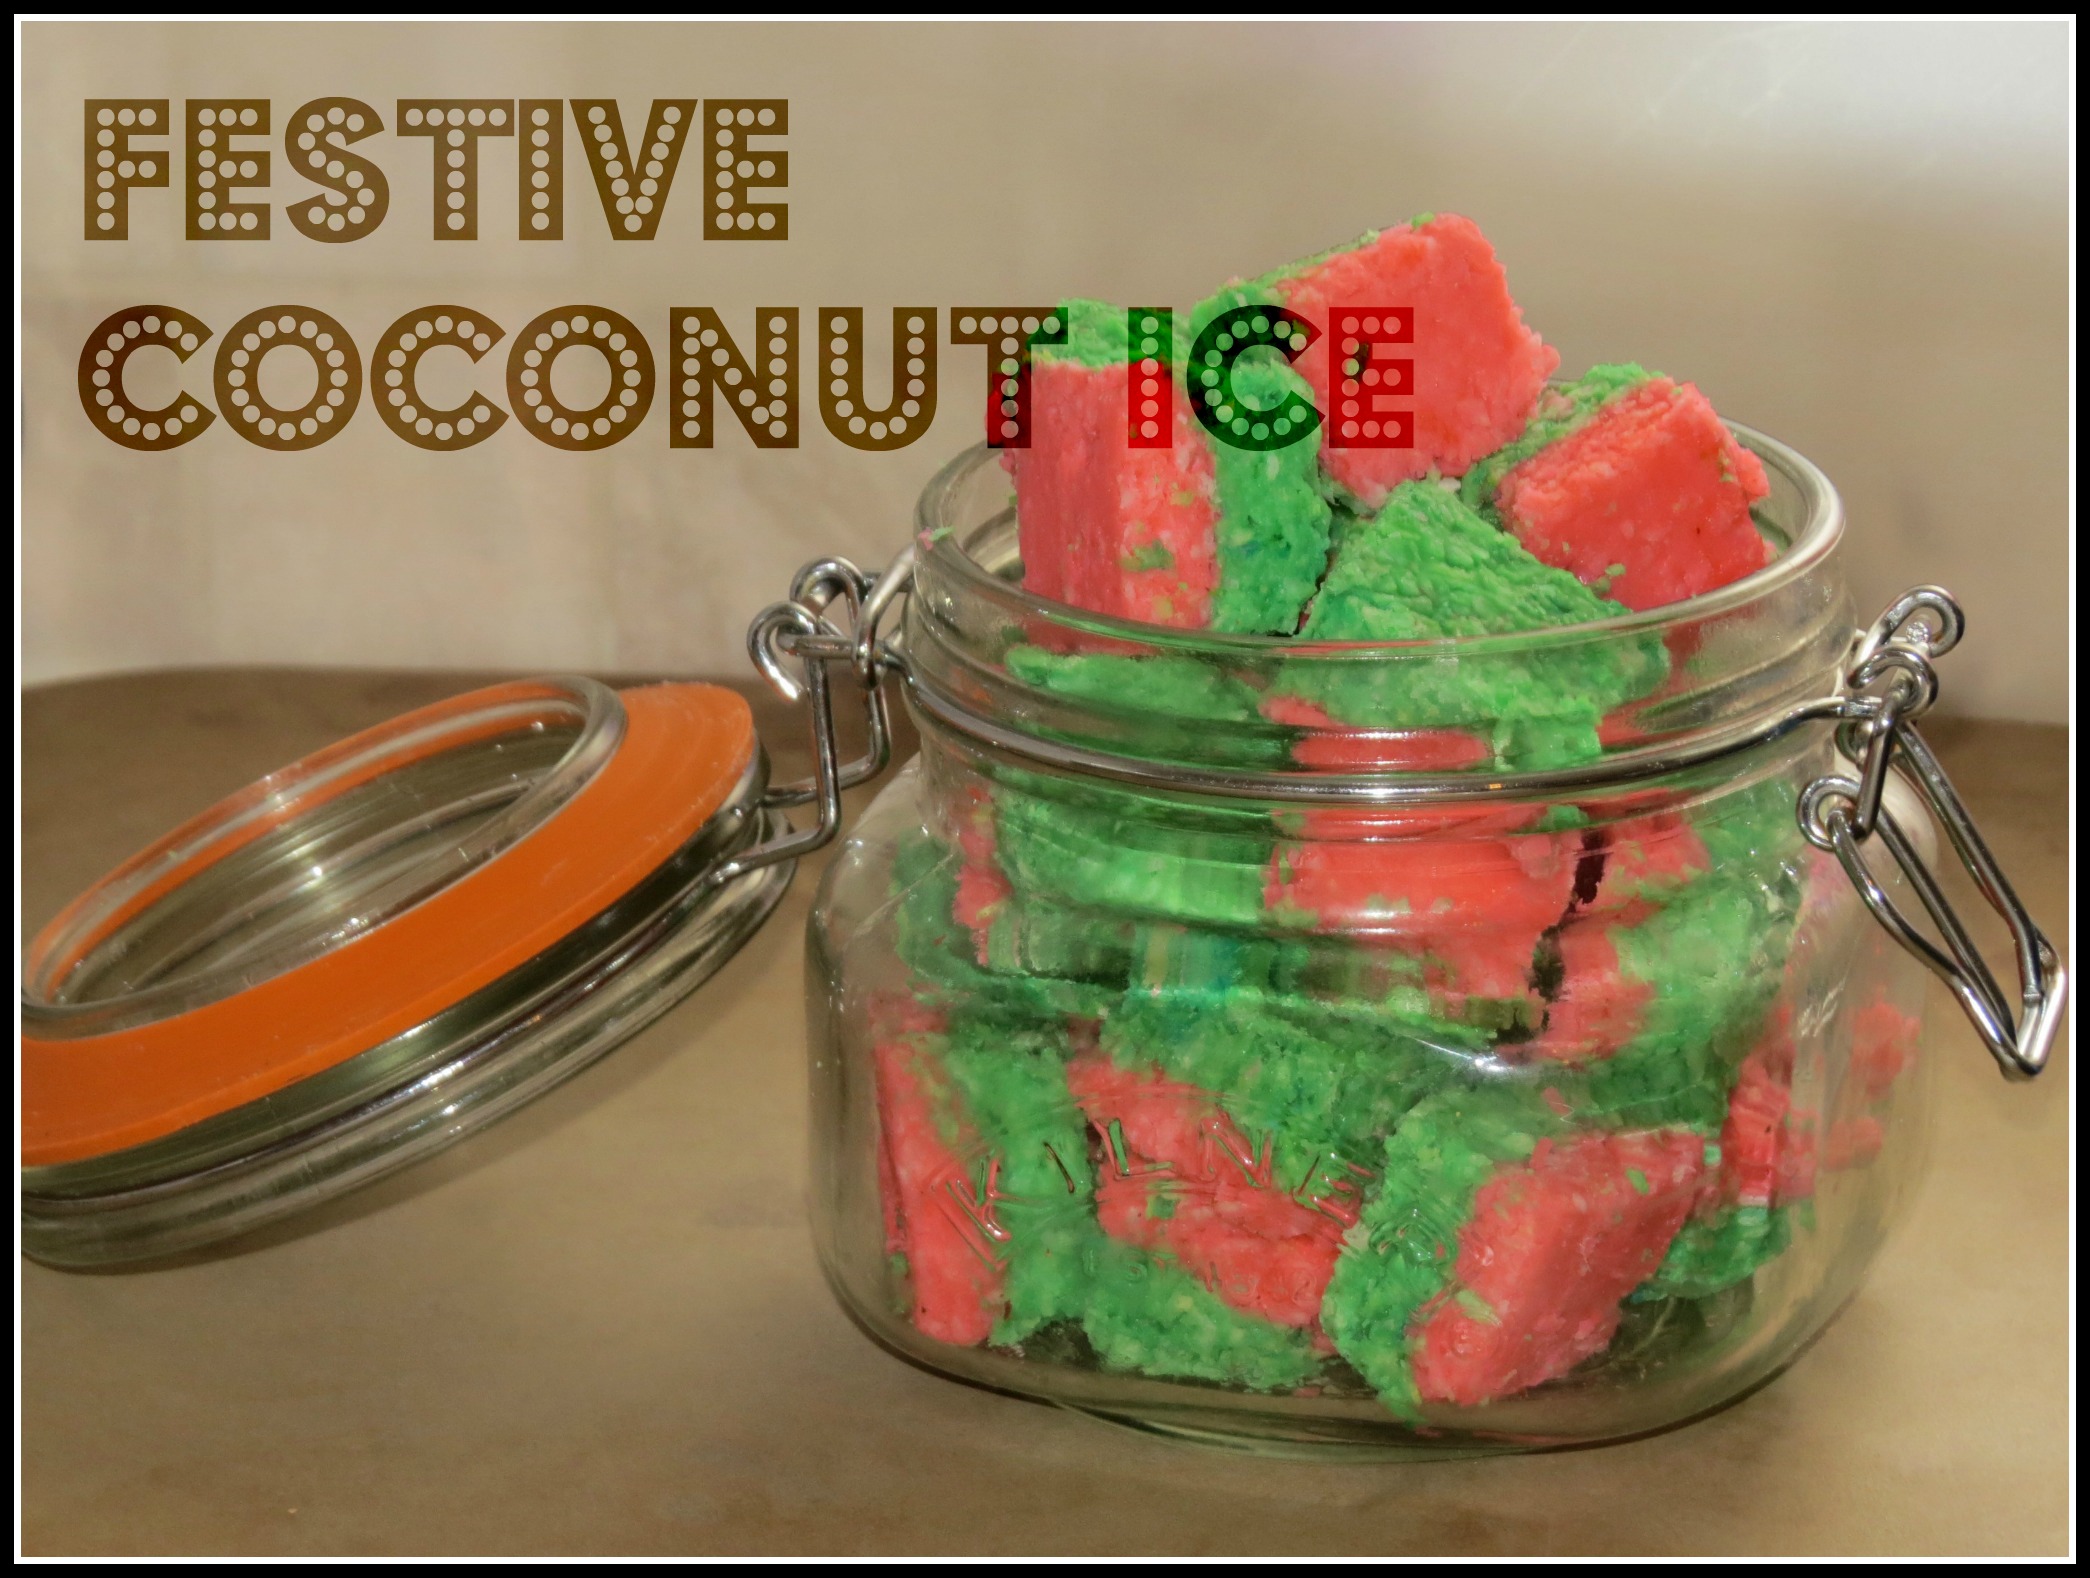
Anyway, traditionally coconut ice is pink and white, but I can’t seem to find a reason why. We decided to make ours red (which failed and look more pink than it should) and green to be all Christmassy. In future I’d rather do red and white and green and white. I think it would look better. Anyway, whichever colours you choose, here’s the recipe for you.
- 397g can condensed milk
- 300g (11oz) icing sugar
- 300g (11oz) desiccated coconut (we used organic)
- ½ tsp vanilla extract
- food colouring of choice
- Line or oil your baking tray. I use an awesome brownie pan for most things, and for this too.
- Pour condensed milk into a large mixing bowl and sift in the icing sugar.
- Add the coconut and vanilla essence or extract and mix together until well combined.
- If you're having a white layer, spoon half the mix into your baking tray and flatten out pressing down tightly. If you're having two coloured layers, split them into two bowls and add the required colours to each bowl.
- Mix well and add to pan, flattening till all the first layer is covered, and it's all flattened.
- Place pan in the fridge for six hours or overnight to set.
- Once set, turn out and cut the coconut ice into squares.
- If you use the brownie pan, cut it while still in the pan. This will make huge slices though, so use a knife to cut again.
- Make your icing sugar first, if you're making your own.
- Add all but the colouring and mix on speed 2 for 30 seconds.
- Split the mixture into two, put one layer in the pan, then add the food colouring to one.
- Layer the next into the pan and leave to set in the fridge for at least 6 hours.
- Cut the set coconut ice into squares and enjoy.
Issue 2 also has recipes for a Winnie the Pooh Cake, cream-tea scones, fudge, florentines, 101 Dalmatians cake pops and Winnie the Pooh and friends silicone molds
I’m all about the healthy. We experiment with raw food, drink water kefir, and cook from scratch. I even make my own butter. But to be great 80% of the time, we allow ourselves a break 20% of the time. For the next while, we’ll share recipes from the Disney Cakes and Sweets magazine series. They are not healthy. The name kind of gives it away. But that’s okay. Sometimes we adjust the recipes a little to fit in better with our style, and sometimes I use a Thermomix® instead of following the directions. As part of a balanced diet, we hope you ‘ll join us. We’ll have fun! (If you prefer completely raw, healthy, but still delicious snacks, have a look at Bliss Balls For Beginners)
This recipe features in A Very Thermie Christmas, where you can find it and 50 other recipes perfect for a Thermomix® assisted Christmas. Read more about it here.

2 Replies to “Rosetta’s Cute Coconut Ice”
Comments are closed.